
Recessed lighting offers a sleek and modern lighting solution that can enhance the ambiance and functionality of any space. Whether you’re looking to update the lighting in your home or add new fixtures for a specific purpose, knowing how to {ANCHOR/KEYWORD} can be a valuable skill. In this guide, we’ll explore the steps involved in installing recessed lighting in an existing light fixture, from assessment to completion.
Assessing Existing Wiring and Ceiling Structure
Before embarking on the installation process, it’s essential to assess the existing wiring and ceiling structure to determine if it can support recessed lighting fixtures. Start by inspecting the electrical wiring to ensure it meets current safety standards and can accommodate additional fixtures. Next, evaluate the ceiling material and structure to determine if it’s suitable for recessed lighting installation. Consider factors such as ceiling height, joist spacing, and insulation placement, as these may impact the installation process. Finally, assess the accessibility of the space to determine if any obstacles or obstructions need to be addressed before proceeding.
Planning and Preparation
Once you’ve assessed the existing wiring and ceiling structure, it’s time to plan and prepare for the installation process. Begin by selecting the appropriate recessed lighting fixtures for your space, taking into account factors such as size, style, and functionality. Measure and mark the locations for the fixtures on the ceiling, ensuring they are evenly spaced and aligned with your design preferences. Gather all the necessary tools and materials, including a stud finder, wire strippers, junction boxes, and recessed lighting kits, to ensure a smooth and efficient installation process.
Installation Process
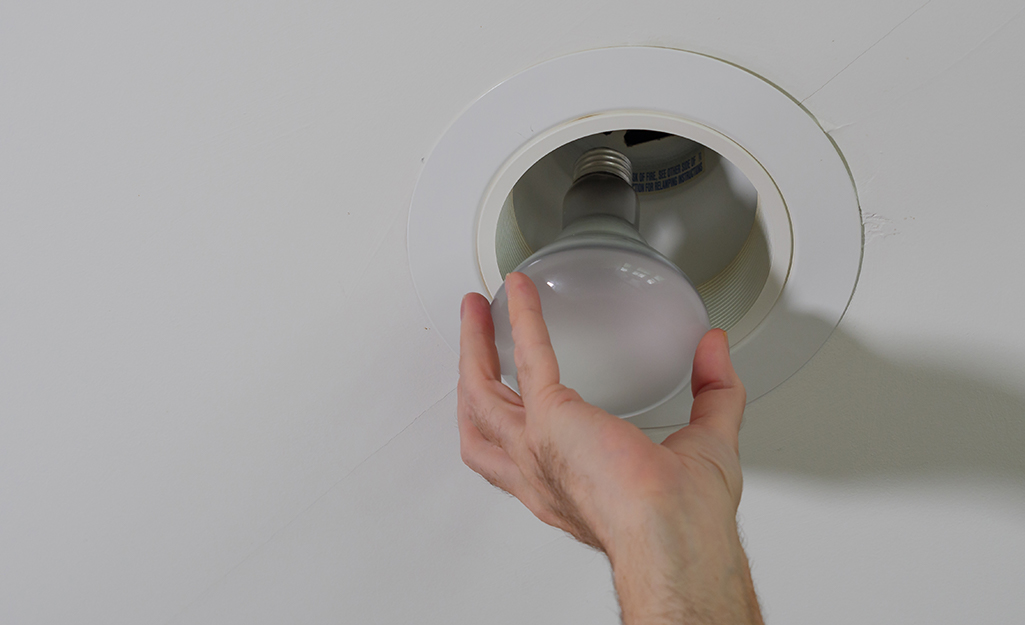
With careful planning and preparation, you’re ready to begin the installation process. Start by cutting holes in the ceiling at the marked locations using a hole saw or drywall saw, taking care to avoid damaging any existing wiring or structural elements. Next, carefully wire and connect the recessed lighting fixtures according to the manufacturer’s instructions, ensuring proper grounding and insulation. Secure the fixtures in place using the included mounting hardware, making any necessary adjustments to ensure they are level and flush with the ceiling surface.
Testing and Finalizing
Once the recessed lighting fixtures are installed, it’s essential to test them to ensure they are functioning correctly and safely. Conduct electrical testing using a voltage tester to verify that power is flowing to the fixtures and that there are no shorts or faults in the wiring. Adjust the light angles and intensity as needed to achieve the desired illumination and ambiance in your space. Finally, patch and finish the ceiling surfaces around the fixtures to create a seamless and professional-looking installation. With careful planning and attention to detail, you can successfully install recessed lighting in an existing light fixture, transforming your space with modern and efficient lighting solutions.